This is a guide detailing how to use the Google Search Console, A great free tool that will give you a good bit of insight into your site's visibility on googles search engine.
Why Would You use Google Search Console?
For SEO reasons this is a very handy tool to help you understand how well perceived your site is by Google. Occasionally your site can run into a few problems such as Google not being able to crawl and index your site or issues with the sites robots.txt. It also has a whole array of data for you to look at including analytics and mobile usability. There are a number of tools that will allow you to test your site as if you were Google yourself.
1. Setting up Google Search Console
The first step in using the search console is adding it your site. To log in you need to use a Gmail account. Once this is created head to https://www.google.com/webmasters/tools From here you will enter your Google Gmail information you will be presented with the screen below. 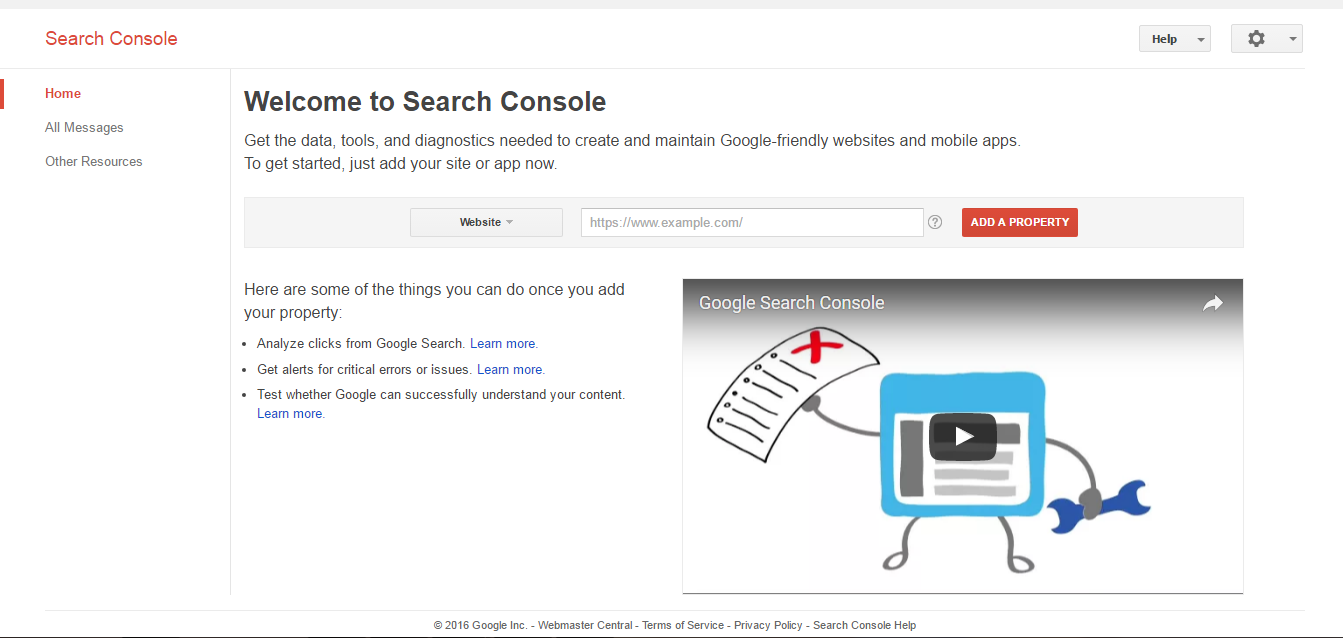
From here is where you would add the URL of the website that you want to gather the information on. In this case, I will be adding the URL "www.glasgowdentists.com", once you've entered in the URL click on the button "Add A Property". Now you will be met with the page below. This gives you a list of methods on how to get the search console working along with your site.
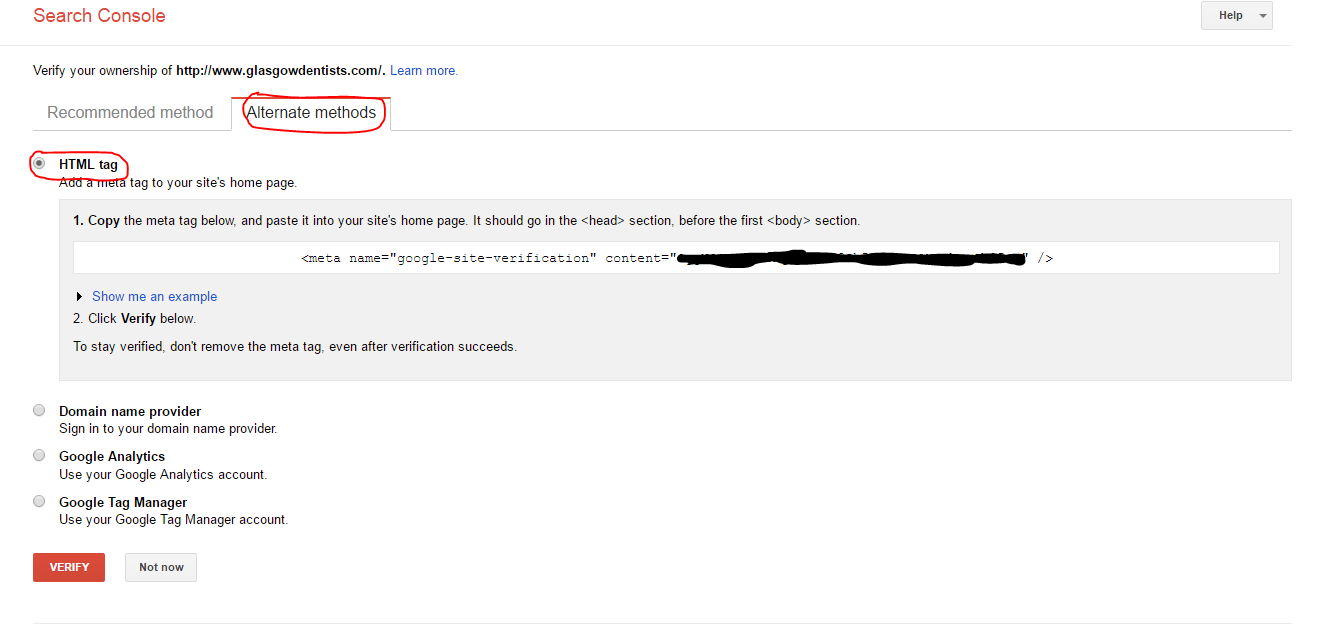
There are multiple ways to add this code to your site but I will show you my preferred method. The site I am currently working with is running on WordPress so I will be adding this code through an SEO plugin called "All in One SEO Pack". To do this you need to click on the "Alternative methods" button at the top, then "HTML tag". Just like the picture above you'll see it gives you the code you need to paste into your site. To add this to the 'All in One SEO Pack' plugin you only need to copy the code that is blacked out above.
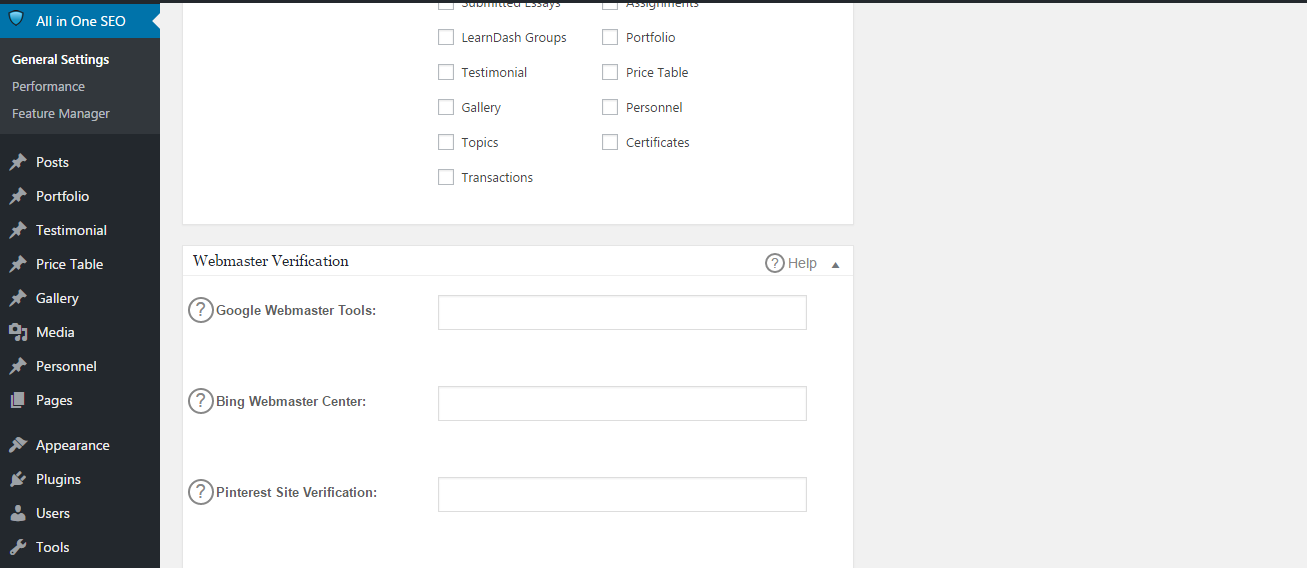
Now you have a copy of the code, log in to the website that you're working on and download the SEO plugin. 'All in one SEO' has a menu that appears on the left-hand side of your dashboard, you need to open up this menu and scroll down until you find the area that says "Webmaster Verification" just like the image above. Paste the code into the "Google Webmaster Tools" section and then click "Update Options".
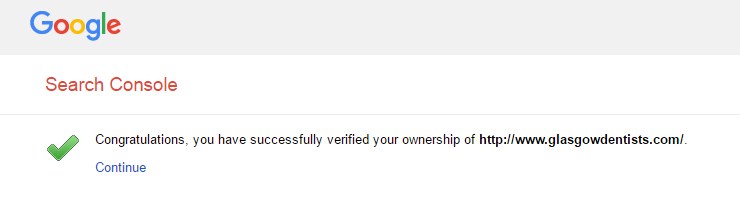
Now head back to the google search console and click verify at the bottom. If done correctly you should see a message like the one above. Click "Continue" and you now have access to the search console.
2. Search Console Overview
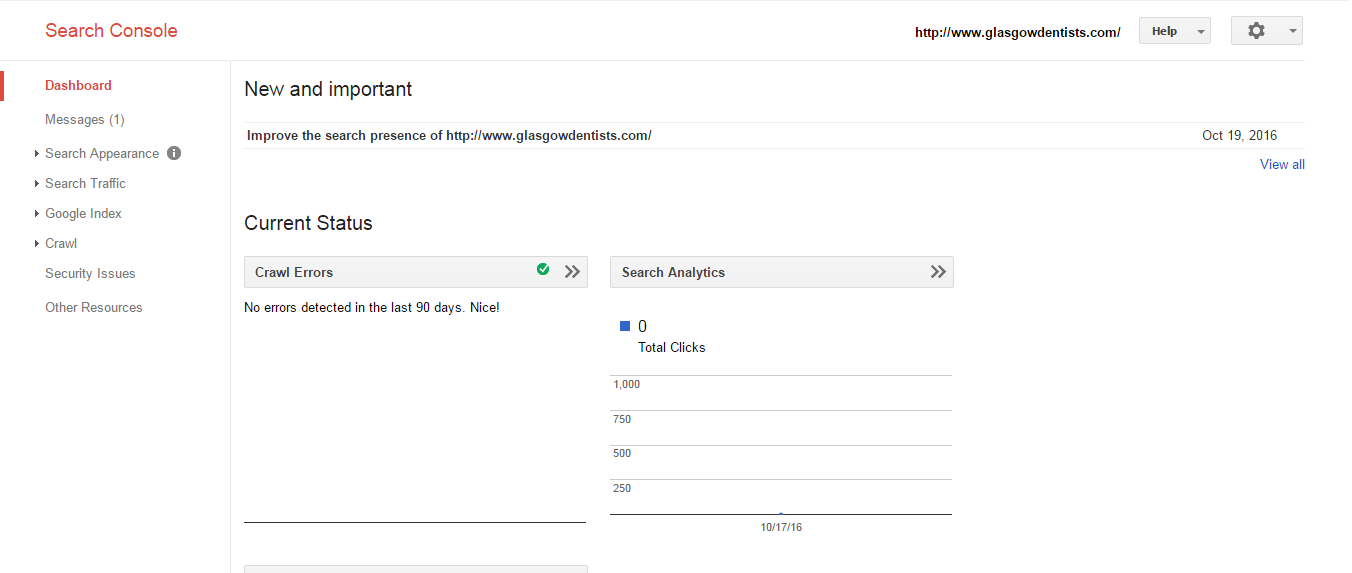
This is the dashboard of the Google search console. One thing to note is that your site will now begin to gather your statistics and won't pull information from the past which is why you can see here that there is no activity at the moment. First, click on the "messages" tab on the left-hand side. Whenever you set up your search console you will receive a message detailing how you can make the most of it.
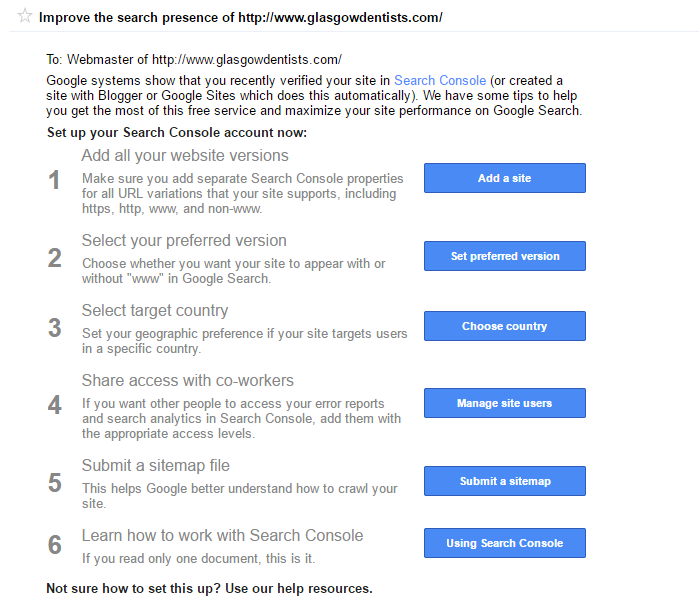
Once you pull up the message, begin working your way down the list:
- Add all of your website versions - What this really means by 'versions' is the differences in the URL. For example, you may be able to access your site using "www.yoursite.co.uk" but you could also type in "yoursite.co.uk" and you would still end up in the same place. Just follow the same steps as last time but when it asks you to paste the code again just click "verify" as you've already done it.
- Select your preferred version - After you added all of your URL's this will let you choose which way you'd like Google to index your site (How it looks on the search engine).
- Select target country - This will let you choose the country that you primarily want to be found in, just open up the country tab and select yours from the drop down menu.
- Share access with co-workers - This allows you to give anyone access to the console using their own gmail account. You can choose between restricted access which allows the user only to view most of the data or you can give full permissions.
- Submit a sitemap file - A sitemap is what makes it easy for google to crawl and index your site. To know if your site has one, type in www.yoursite.co.uk/sitemap.xml into your browser. If you don't have one you will most likely see a 404 error. If this is the case you have to get one for your site. There are tonnes of sitemap plugins out there that will automatically set it up once it's downloaded. Just browse through the plugin section in WordPress and download one. Now that you've got a sitemap you can submit it to your search console.
- Learn how to work with search console - Have a quick read through this section to get a better understanding of how the search console operates.
2. Search Traffic
This area of the console is where you find all of your search information. You can use search analytics to monitor your traffic over time and what kind of terms your site will rank for.

Above is the number of metrics you can see through search analytics
Clicks - This is how many times a user has clicked on your site through the search engine.
Impressions - This is how many times your site appeared on a particular search page. This means that even though the user never actually clicked on your link, it still counts towards an impression. However this isn't the case if the user only views page 1, but your link is on page 2. It has to be visible on the user's page for it to count towards an impression.
CTR(Click Through Rate) - This will simply divide the clicks by the impressions.
Position - This will show the average of your top positions on the search engine.
Links - The search traffic tab also includes the ability to view your sites backlinks and internal links. You will be able to determine from here if your site is easy enough for the user to navigate and if all of the necessary pages are accessible through your internal linking structure.
Links to Your Site: This section will show you any links that your site has from other websites(backlinks). If you have just set up your search console it will take some time before you can see the majority of this data. If nothing is appearing, check back every couple of days or so until it eventually pulls through.
Internal Links: This will show you a list of the internal links on your website. This is a good indicator for Google to understand the importance of each page. If you notice that an important page on your website isn't displayed here, then you should check your internal linking structure and rearrange it appropriately. This section will again need time to eventually appear on the search console.
Manual Actions
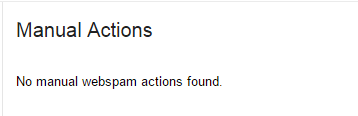
If you see the message above when on this tab then you have nothing to worry about. If not then your site has been manually reviewed by Google and they have found something not satisfactory to their guidelines. In a manual action report, there are two different types that could be displayed.
Site Match - This means that you have a site wide action that needs to be resolved.
Partial Match - This is an issue with an individual page(s) within the site. This one is the more common of the two and in most cases will only affect the link on that page specifically. Each match will display a reason for the action and what effect it will have on the page or site. If your site has a few actions that need your attention you can change it to fit into Google's guidelines and then request a review.
3. Google Index
The Google index tab is where you can view all of the URL's indexed on your website. This is the page on your site that will be visible on Googles search engine. You should expect the number of URL's indexed to be lower than the number of ones crawled as Google won't index certain URLs such as duplicates and ones that have been given no index tags
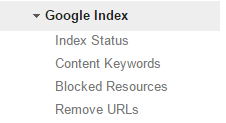
Next is the content Keywords section, here you'll find a list of keywords Google found significant when crawling your site.
Blocked Resources are anything that the robots.txt has blocked from Googlebot. For Google to properly index your site it will need access to files such as images and CSS.
Remove URL's Tool - This tool allows you to temporarily hide a URL from the search engine. This will remove it from Google for about 90 days which will allow you to make any changes needed within that time. For most people though this tool won't need to be used.
4. Crawl
The crawl errors section is where any problems crawling the site or URL's in the last 90 days will show. A site crawl error will appear if the Googlebot had problems accessing the entire site, and URL errors are page specific.
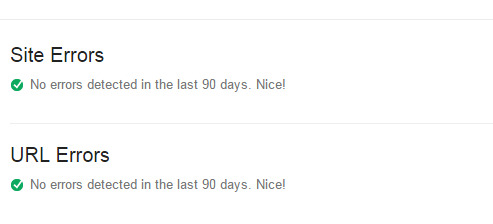
Site Errors
For the majority of working sites out there, you won't have any site errors. These errors will either be some sort of DNS error, server error or failing to retrieve your robots.txt. If you do have any errors it will show you on a percentage scale. If you have a high error rate of 100%, then your site most likely down or the robots.txt is blocking the site from being crawled. Here are a few things you could check:
- Check that the file permissions of your site haven't changed recently.
- Make sure links aren't linking to non-existent pages.
- Check that any new features or plugins you added recently are running correctly
URL Errors
These kinds of errors can be more common and usually easier to fix. The search console will list any errors you have from the top being most important and least at the bottom. A common error that websites face is a 404 error. These are a way of telling both users and bots that the page it's trying to connect to does not exist. While this is the correct way to display that fact, if you have just misspelt a link to a page or have removed a certain page but still have a link pointing to it, then this is where the errors come into play. Another thing to watch out for is making sure that any redirects you have are clean through and don't contain too many hopping points before reaching the main destination. This can cause problems for the Googlebot following your link.
Crawl Rate
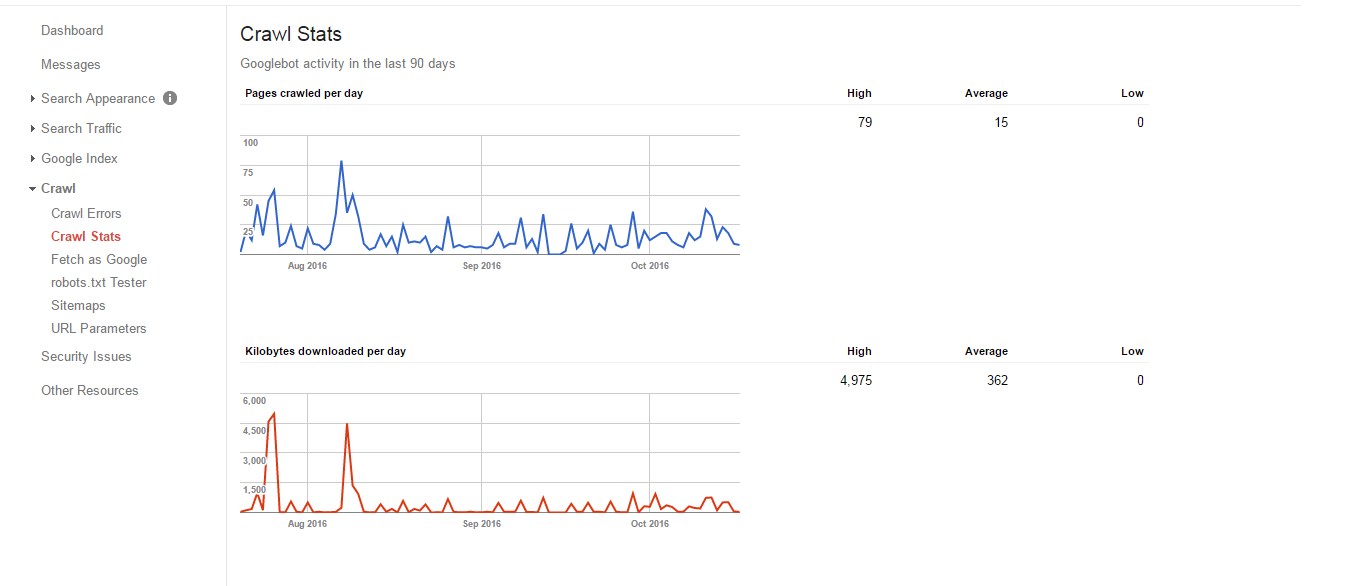
The crawl rate shows how often the bots will crawl your site for new information. From an SEO standpoint, you should want there to be a pretty even line with a gradual increase as the site adds more content.
Fetch as Google
You can fetch each of the pages as if you were Google yourself. At the top of the page will be a search bar that allows you to decide the path(page) that Google fetches. On the image below you can see I have fetched used the home, "treatments" and "Contact" page. To select these pages all you do is enter the URL for each, the console will already provide the root URL so all you have to do is enter the page like so: /treatments//news// (Home Page) Now you've entered the path, you can choose to 'FETCH' or 'FETCH AND RENDER'.
Fetch - This will simply get an HTTP response from your target URL, this is a quick process that lets you know if Google can connect to your site first and foremost.
Fetch And Render - Along with fetching it will also render your page how it would show on a desktop, run all of the aspects of your page including pictures, videos etc. This gives you a good idea of how the Googlebot views your page data compared to the user.
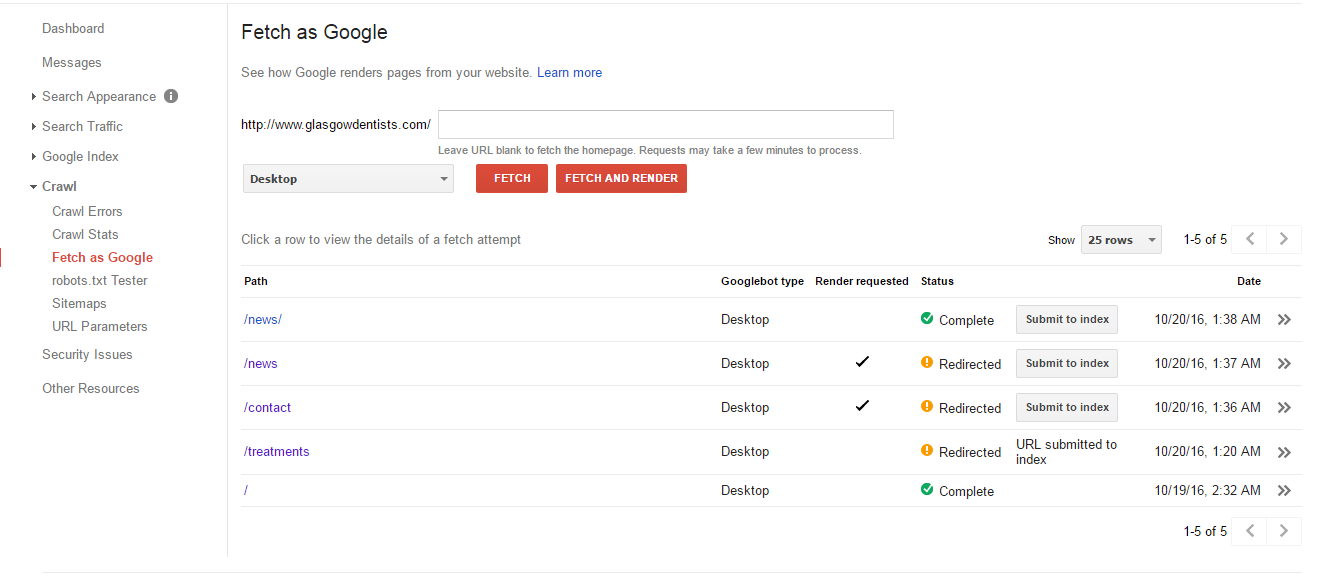
Once the pages are successfully fetched you can then submit a request to have Google crawl it. You can choose between a URL crawl only or have it crawl any direct links on the URL also. There is a monthly allowance of crawl request being 500 for the URL only and 10 for the direct links.
Once you submit this, Google will crawl the page and it's content shortly afterwards. If your page follows the appropriate guidelines then it will be considered for indexing. robots.txt tester This allows you to test your sites robots.txt with the multiple bots (Googlebot, Googlebot-image, Googlebot-mobile etc), you can even make changes to the file here and then upload it to your site.
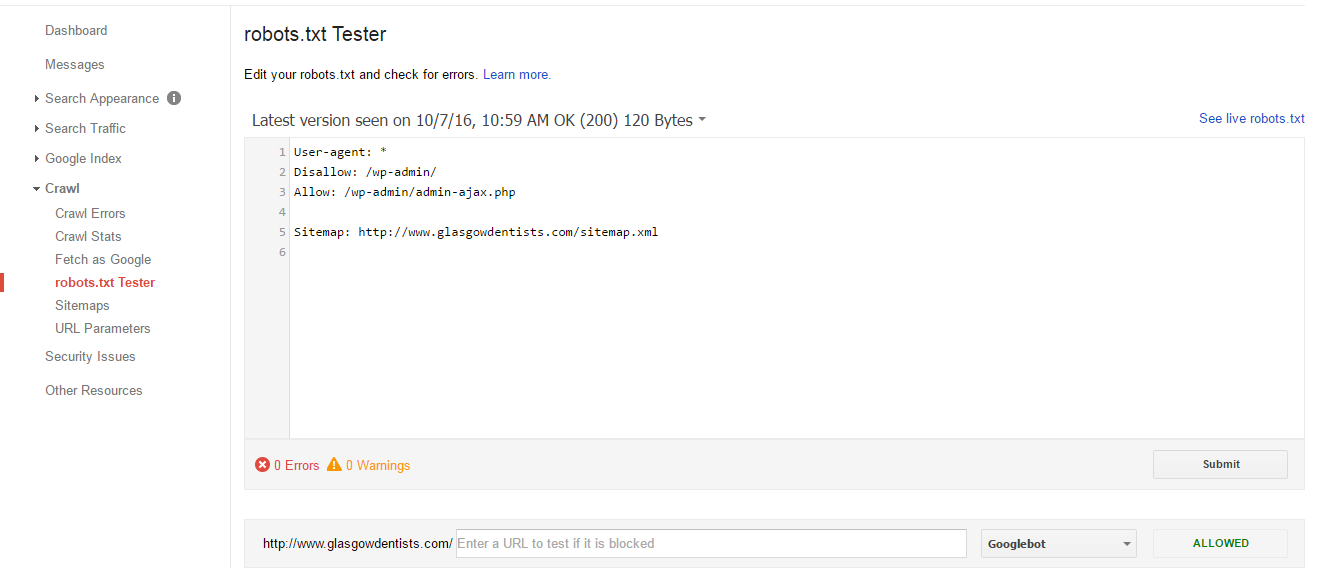
The image above shows you what a robots.txt file will look like. At the bottom of the page is where you can choose the specific bot using the drop down menu and then click "Test". If there are no problems then you will see an "Allowed" button like the one above.
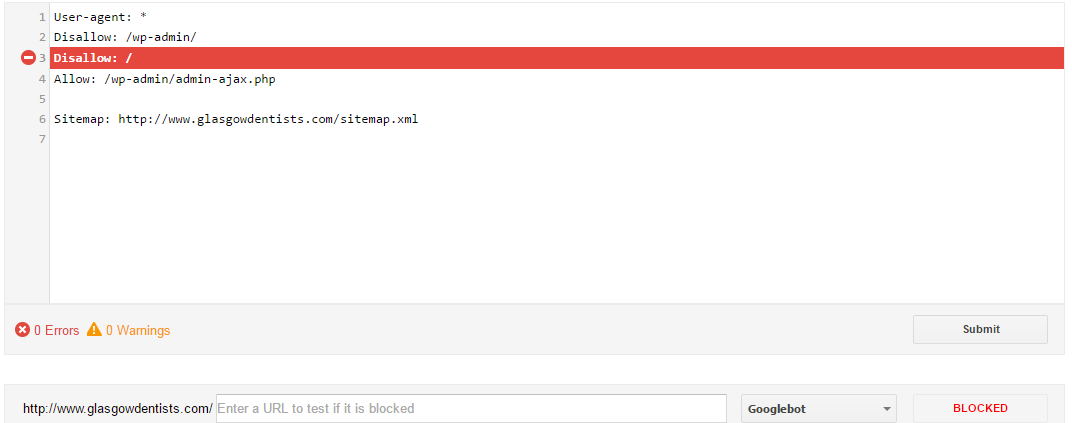
If your robots.txt is blocking the bot from crawling then you will see a 'blocked' button like this one above as well as the exact line of code that is causing the problem.
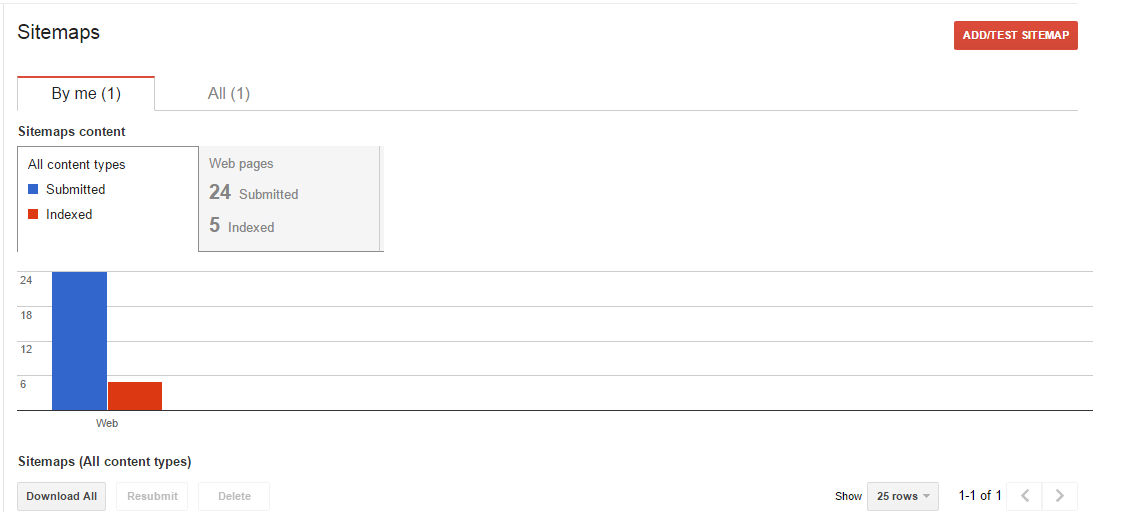
Sitemap
If you remember earlier we submitted a sitemap to the search console, this is the section in which you can view how many pages have been submitted and the amount indexed.
URL Parameters
This section would only need to be used if you want to show the user the same page but with just slight differences to make it easier to navigate. For example, if you were working with a massive online clothes store, you may want to include filters. If the user clicks on your "t-shirts" section, you could have various filters for colour, brand, size etc. Even though you are showing the same content on each of the pages, the little changes with filters mean's there has to be a unique URL to identify this. The reason for this being on the search console is so you can tell Google about any of your URL parameters and how they affect your pages content.
5. Extra Information
Security
In the event that your site is hacked, you may see a message along the lines of "This site may be hacked" or "This site may harm your computer" under your positions on Google. When this happens you can either remove it yourself or get someone to remove the malware for you. Google also has a few helpful tips and steps you can take that will help you through the process. Once you clean up your site, you can submit requests for your site to be reviewed by Google. Your site will be back to normal after a few days as long as the site has been cleaned up properly.

Other Resources
The other resources section gives you a list of other useful tools to help your site get the most from Googles search engine. It's worthwhile having a look at each of these resources and although some might not be entirely useful to you specifically, it will help you get a better understanding Googles different services.
Overview
The Google Search Console is yet again another tool that you want to include in every SEO campaign. With any website out there, problems can arise at any time. While you might not necessarily be using this all the time, you will want to check the search console first if anything goes completely wrong with your rankings.