![]() MailChimp is one of the most popular tools used to carry out an email marketing campaign. Using software like MailChimp gives you the ability to bulk send emails to thousands of email addresses and it provides you with plenty of data of how the recipients have interacted with your email. This kind of information really helps you understand your audience which in turn allows you to create better emails for your subscribers.
MailChimp is one of the most popular tools used to carry out an email marketing campaign. Using software like MailChimp gives you the ability to bulk send emails to thousands of email addresses and it provides you with plenty of data of how the recipients have interacted with your email. This kind of information really helps you understand your audience which in turn allows you to create better emails for your subscribers.
It's a very easy tool to use once you understand each of the features. This is going to be a detailed guide showing you how to set up your MailChimp account. MailChimp has both a free and paid option, you can get up 2000 email subscribers with a maximum of 12,000 emails you can send out per month with a free version of MailChimp.
The paid version is what allows you to send out an unlimited amount of emails in a month with lots of different tiers of pricing starting from as low as $10 per month with pay as you go options also. To start using MailChimp all you need is your email address to sign up.
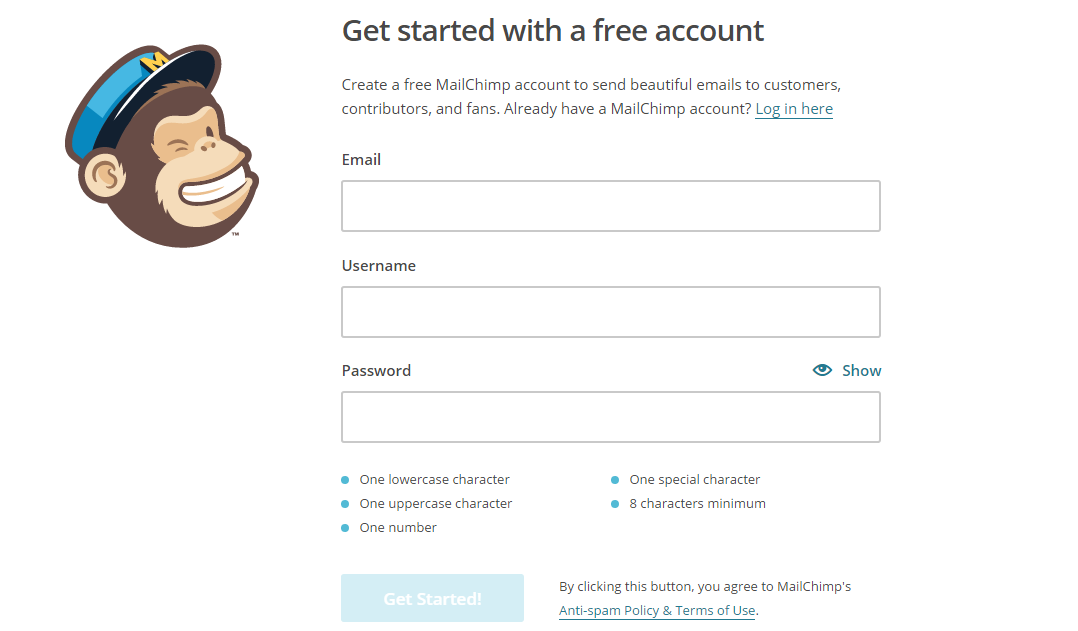
Once you fill out the details that you see above, MailChimp will send you an email to activate your account. Once you open up the link it's time to go through the setup wizard. All of the questions here are pretty straightforward, just follow the steps until you finally reach the MailChimp dashboard.
Creating a List
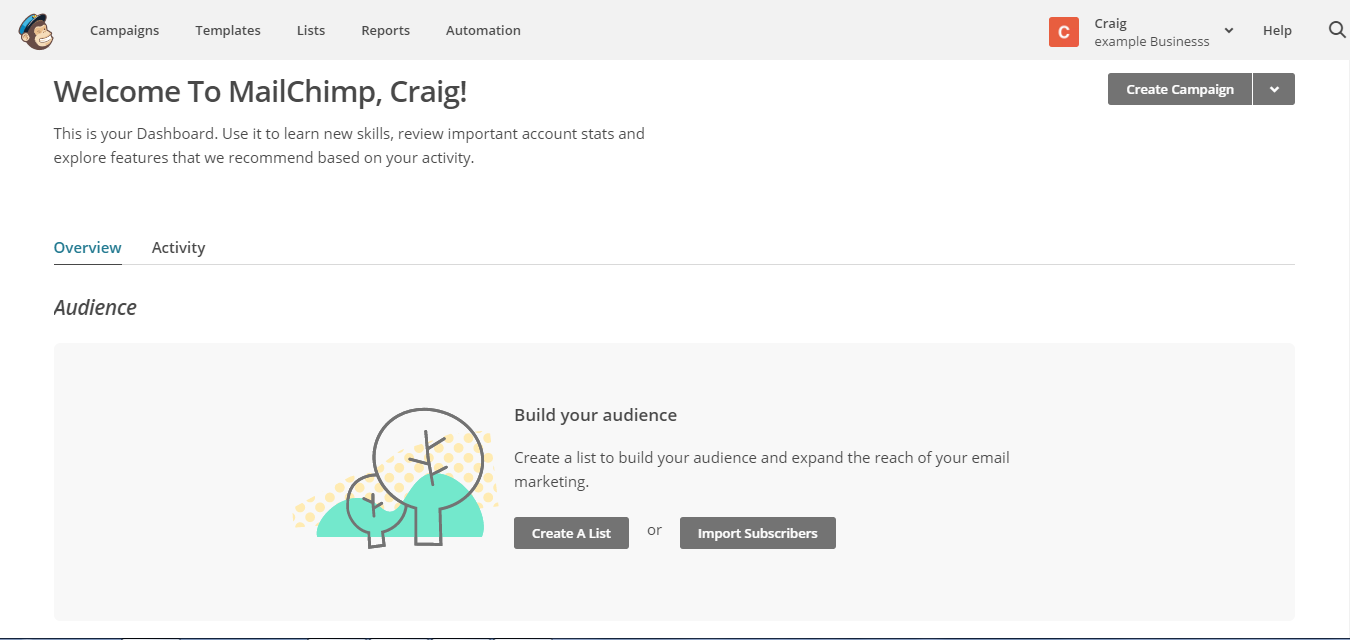
Now your MailChimp account is active it's time to create your first campaign. From the dashboard click on the "Create a list" button. The list section is where you will add all of the email addresses that you are going to send to. Fill out all of the details and once it's complete, you can either import your list of email addresses from .txt and .csv files or manually put them in individually.
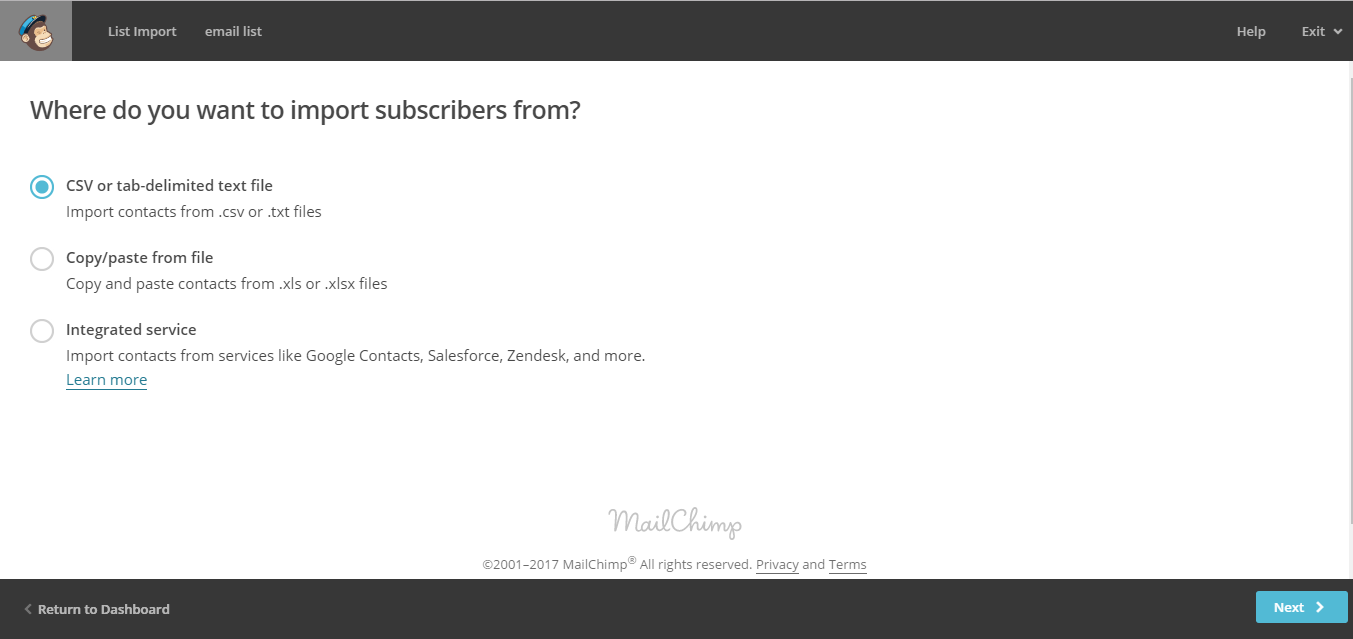
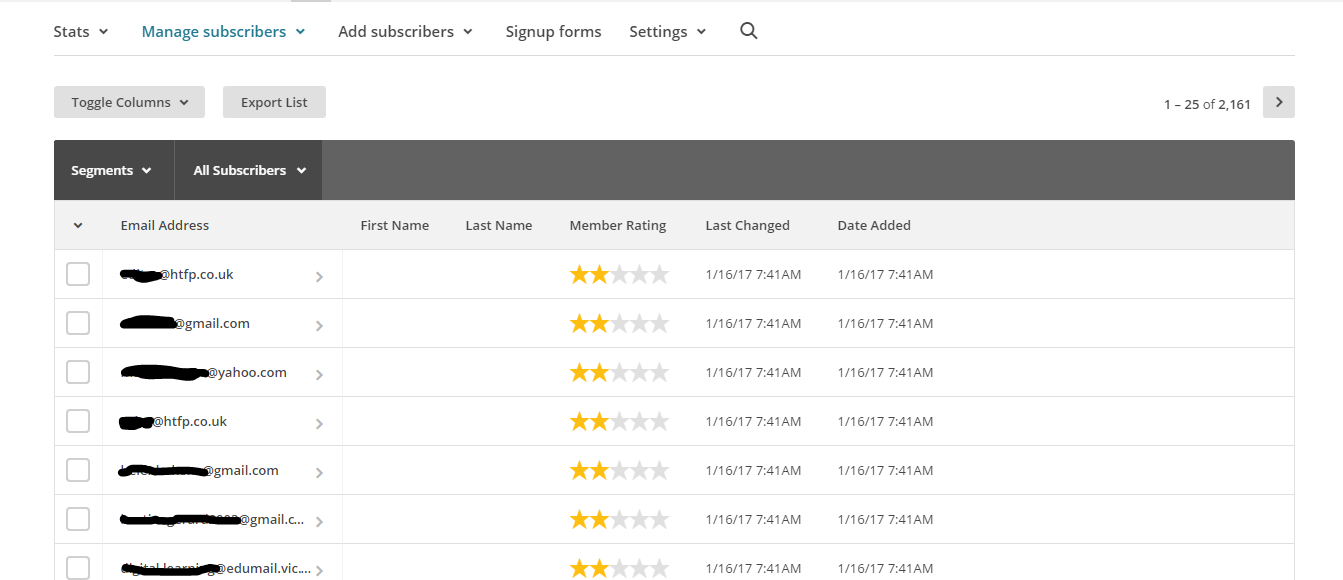
In this example, I'm importing my list which is a .txt file. MailChimp will import your list in a matter of seconds, and you now have a list of email recipients.
Now you have your list together, the next step is to put together the email marketing campaign. MailChimp has what is called a "Campaign Builder" that takes you through a step by step setup process. To start this process, click on the campaign tab on the navigation tab.
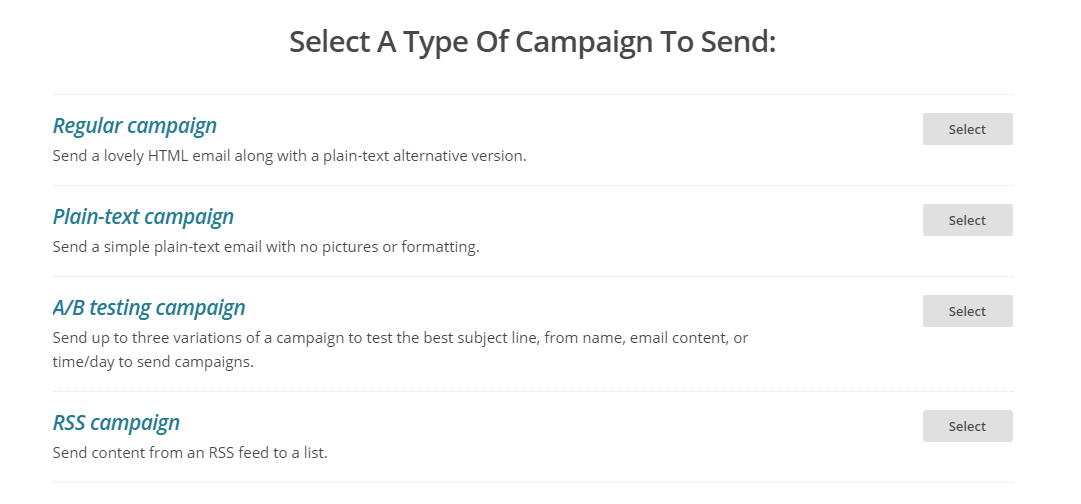
There are a few different types of emails that you can send out. The one I would always choose is the "regular campaign" option. This campaigns template has lots of customisation options available and it is very easy to use. The next stage will ask you which list you want to be sending this campaign too. You can choose to send it to your entire list of email addresses or you can group certain emails together such as active subscribers or certain email domains etc. It's really beneficial if you can group certain email addresses together as it will allow you to send out more targeted emails that usually have a higher success rate. Now you need to put in all of the campaign general info.
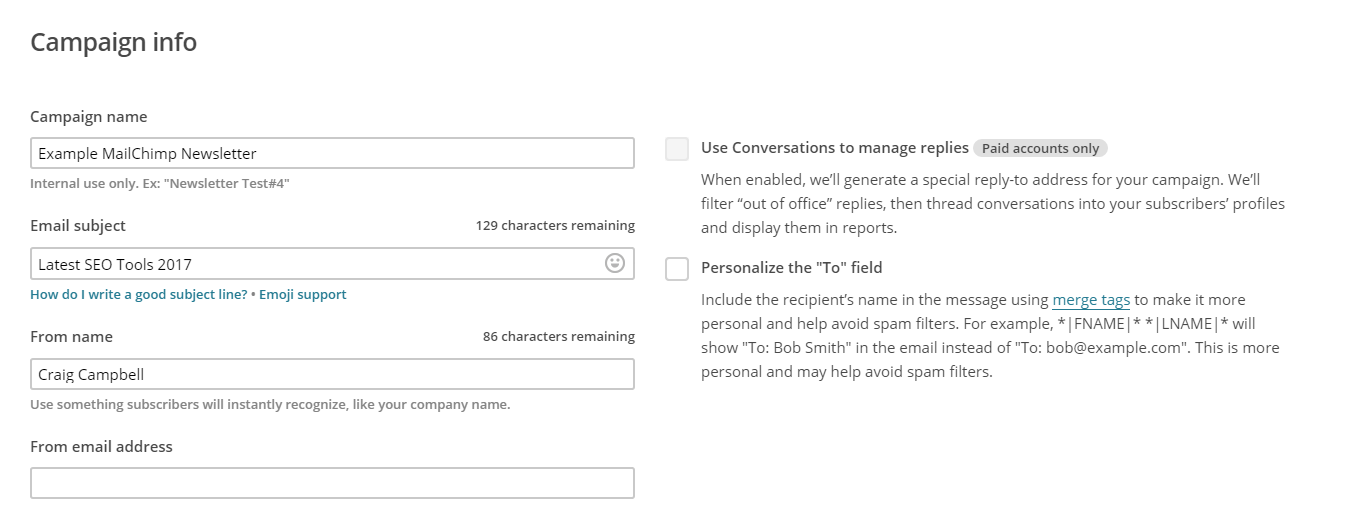
This section is where you add the email information such as subject header, name, from email etc. The one that you should pay attention to here is the "Email Subject". This is the first thing that the recipient will see when they open up their emails so you really want this to grab their attention with a good subject. Once you fill out all of these details, you can scroll down to see the other options that are available. You have the choice of what stats you are going to track with some unavailable and required to free MailChimp accounts.
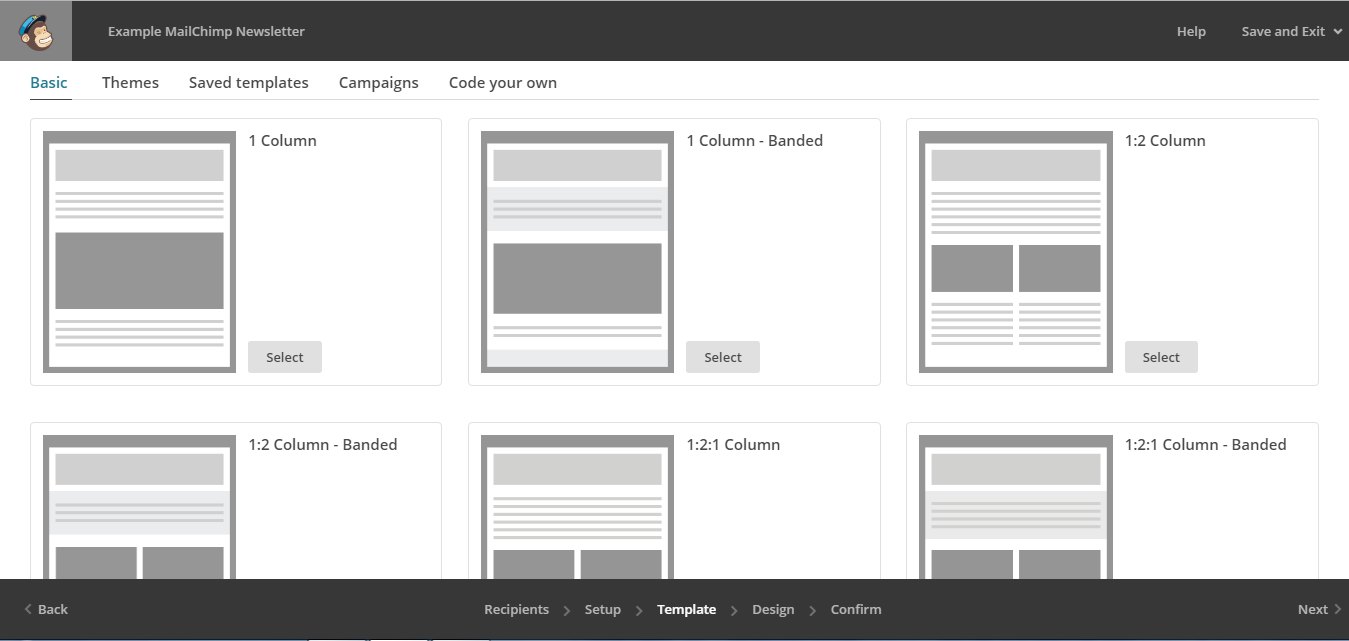
When it comes to the design aspect, MailChimp has lots of templates available which can all be modified more once you select it. Choose the template that's right for your campaign and now it's time to add the content.
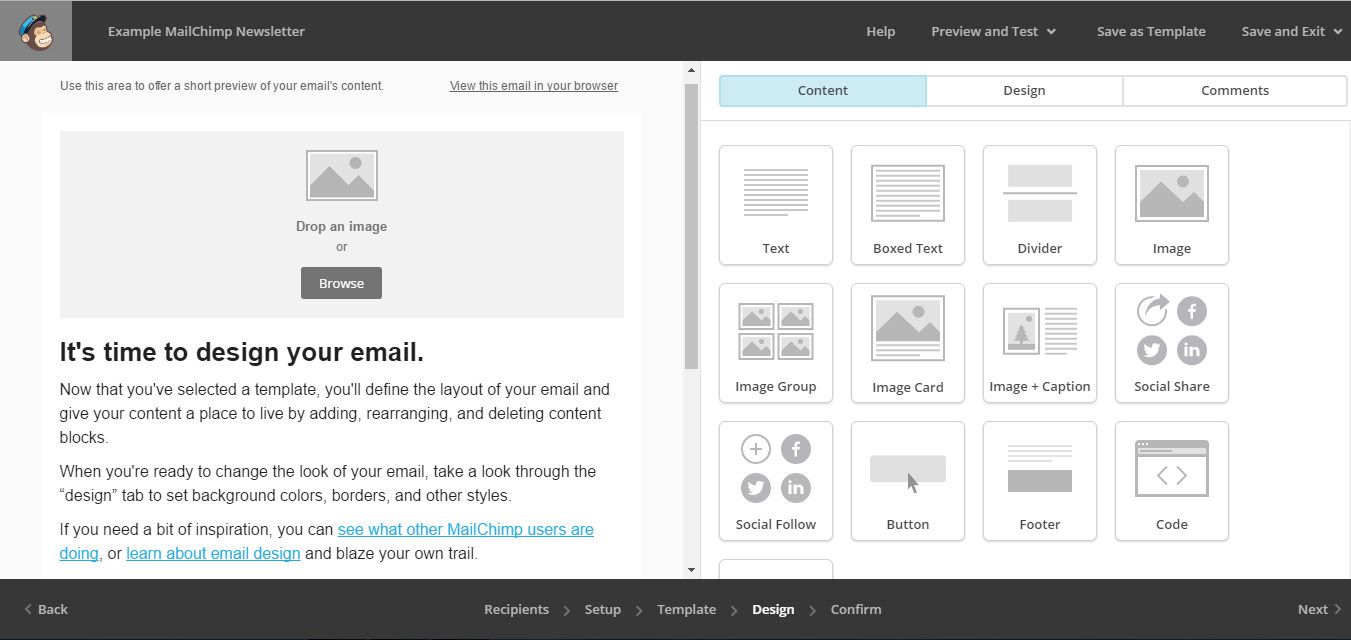
The design stage for your email is pretty straightforward as it gives you a simple drag and drop feature for adding and removing aspects such as images, social buttons, text etc. The options that MailChimp have here for your email's layout is perfect for any kind of email marketing. Another great feature is the preview button which allows you to view how the email will look on both desktop and mobile devices.
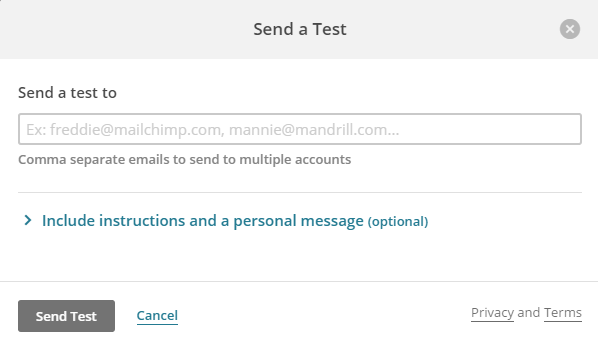
Once you've got a design your happy with, there is a great feature that allows you to test the email. Just enter an email address you want it to go to, you also have the option to save the email template so it can then be used for future use.
That's your email campaign all set! The next page is an overview of everything in your campaign, you can have a quick scan through the list to see if there's anything that you need to change.

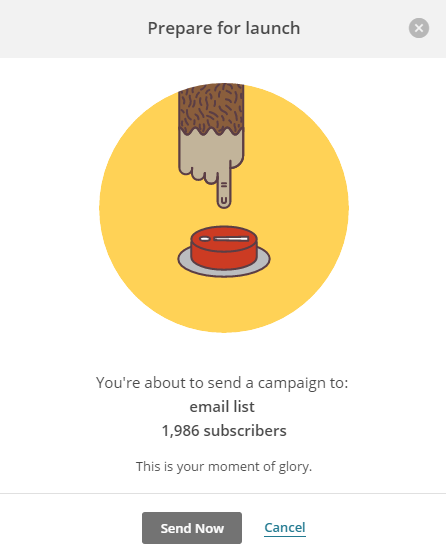
If there is a problem with your campaign, MailChimp will give you an alert at the top of the page telling you what needs to be resolved. Once you're ready it's time to send or schedule your campaign.
After your campaign has been sent out there, it's time to have a look at your campaign stats. This section tells you what percentage of people are opening and interacting with your email and who isn't. From here you can start to improve your campaigns by grouping certain demographics together etc. - so you can really get the most of MailChimp. This has been a quick guide on what features MailChimp has to offer. Following these steps will help you get your first email campaign out there and the more you set these up, the better you will become at creating attractive emails for your target audience.